Resource Watch API Quickstart
This quickstart guide will get you up and running with the Resource Watch API. In it, you will:
Create an account with the RW API
Obtain your JSON Web Token for authentication
Create your application and get your API key
Make a sample request to an authenticated endpoint
After that, you'll be ready to go!
1. Create an account with the RW API
In order to make requests, you first need to create an account with the RW API. To do so, go to the login page and register. You can log in using an existing Facebook, Google, or Apple account, or you can register with an email and password.
If you create a new user account using an email and password, a confirmation link will be sent to the email address you provided. You must click this confirmation link in order to activate your account.
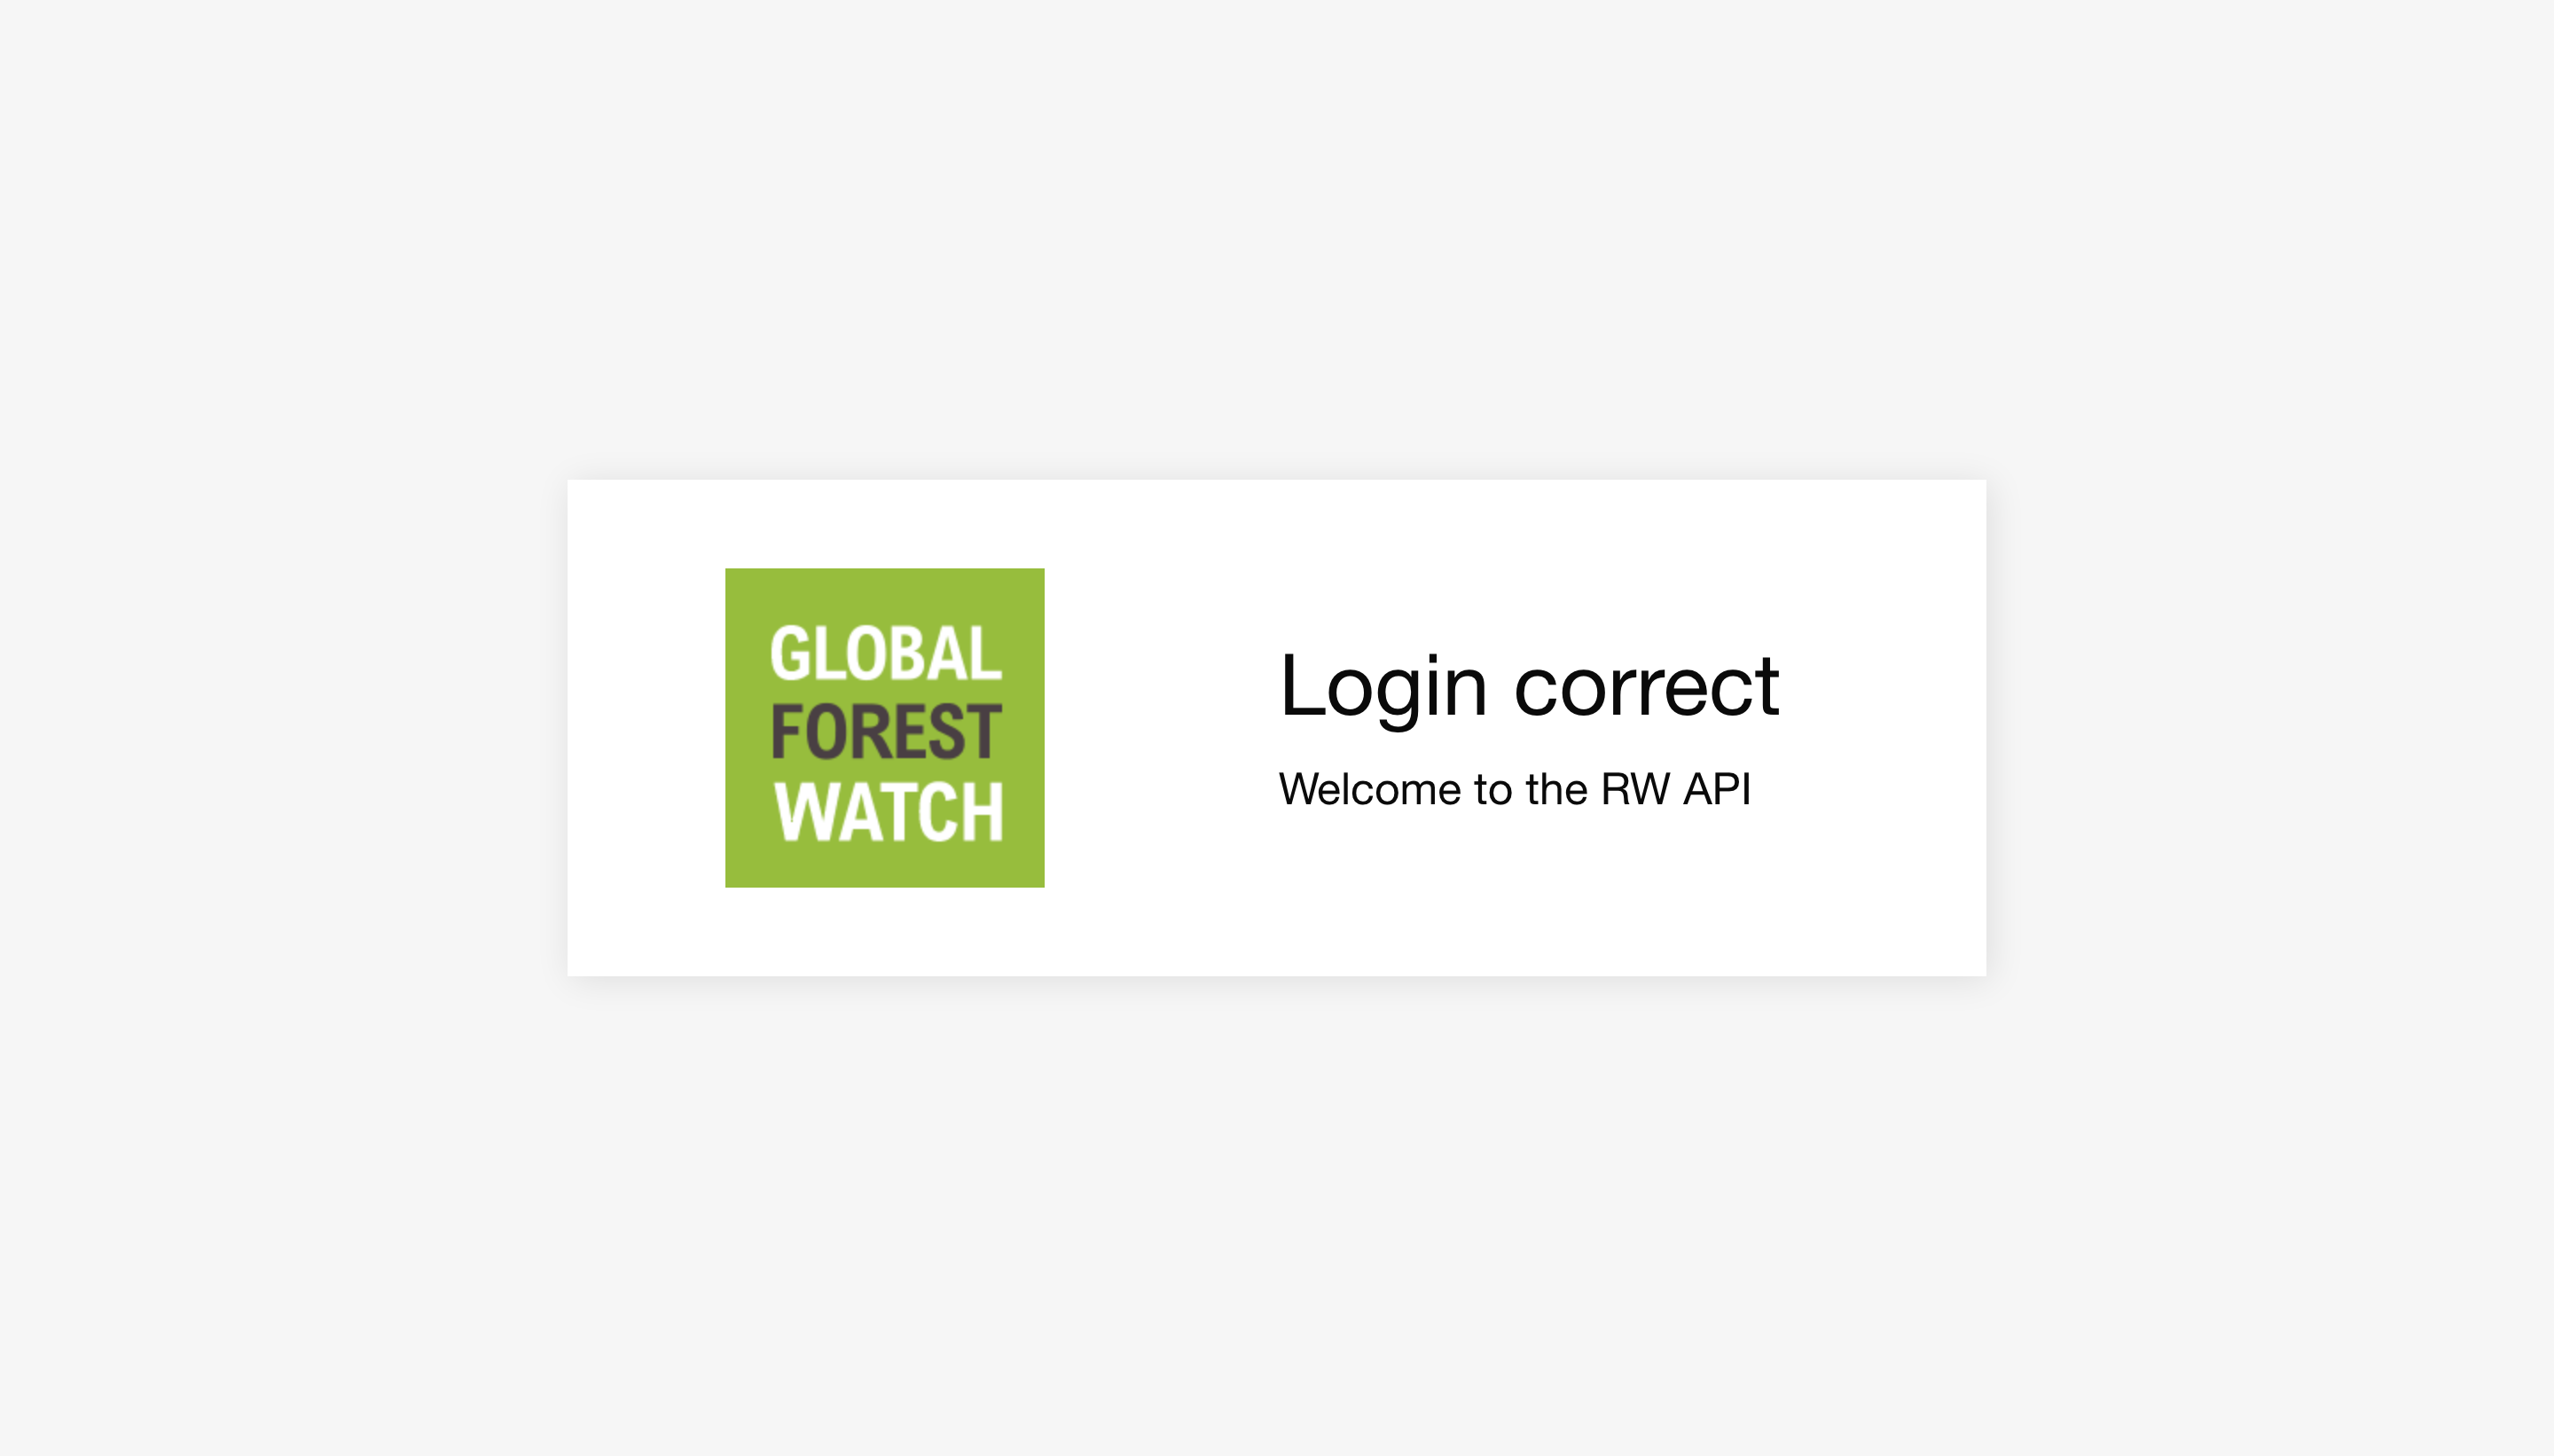
After you login, you should see the following message in your browser:

2. Obtain your JWT for authentication
Sample response from
https://api.resourcewatch.org/auth/generate-token
{
  "token": "eyJhbGciOiJIUzI1NiIsInR5c..."
}
The RW API uses JSON Web Tokens (JWTs) for authentication. Once you've created an account and logged in, go to https://api.resourcewatch.org/auth/generate-token to get your token. While not all endpoints require authentication, most do, so we recommend we use it whenever possible.
Warning: Treat this token like a password. Don't share it with anyone and store it in a safe place (like a password manager). If someone else gains access to your token, they'll be able to do anything that you would be able to do on the RW API, even without access to your Facebook/Google/Apple login or your email and password.
Once generated, your token is valid until any of the user information (name, email, or associated applications) associated with your account changes. If your token becomes invalid, you can just log in via the browser and go to https://api.resourcewatch.org/auth/generate-token to generate a new token.
3. Create your application and get your API key
API keys are used to identify your application when making requests to the RW API. To create an application, use the following API endpoint:
curl -X POST "https://api.resourcewatch.org/v1/application" \
-H "Content-Type: application/json" \
-H "Authorization: Bearer <your-token>" \
-H "x-api-key: <your-api-key>" \
-d  \
'{
    "name": "Your application name"
}'
Sample response
{
  "data": {
    "type": "applications",
    "id": "63be3da993ea69eb458fc4a6",
    "attributes": {
      "name": "Your application name",
      "organization": null,
      "user": {
        "id": "<your-user-id>",
        "name": "<your-name>"
      },
      "apiKeyValue": "<your-api-key>",
      "createdAt": "2023-01-11T04:40:09.455Z",
      "updatedAt": "2023-01-11T04:40:09.455Z"
    }
  }
}
4. Make a sample request to an endpoint
Request your own user information
curl -X GET "https://api.resourcewatch.org/auth/user/me"
-H "Content-Type: application/json"  -d \
-H "Authorization: Bearer <your-token>" \
-H "x-api-key: <your-api-key>" \
-H "x-api-key: <your-api-key>"
Now you're ready to start using the RW API!
Try making the request you see on the right. Don't forget to replace <your-token> and <your-api-key> with the JWT
token and the API key you generated in the previous stepes.
In this example, you are requesting your own user information using
the /auth/user/me endpoint of the API.
Sample user information response
{
  "provider": "local",
  "role": "USER",
  "_id": "5dbadb0adf24534d1ad05dfb",
  "id": "5dbadb0adf24534d1ad05dfb",
  "email": "test.user@example.com",
  "extraUserData": {
    "apps": [
      "rw"
    ]
  },
  "createdAt": "2019-10-31T13:00:58.191Z",
  "updatedAt": "2019-10-31T13:00:58.191Z"
}
Congratulations! You're ready to start using the RW API. To get more familiar with key concepts and features, move on the concept docs.

